
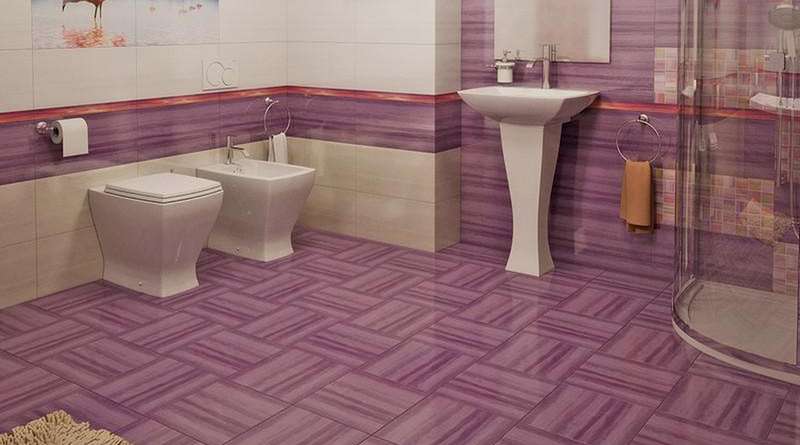
Bathtub tile installation
Bathtub tile installation is an important and responsible process that requires proper preparation. In short, this process will be performed as follows:
- choose tiles that are suitable for the bathroom;
- clean and prepare the walls and floor for laying;
- calculate the required number of tiles;
- pre-lay the tiles without mortar to determine the trimming;
- prepare the markings for the wall and floor;
- lay the tiles on the floor and wall;
- grout the seams after the adhesive has dried.
If you decide to lay the tiles yourself, make sure that the walls and floor are carefully prepared. It is necessary to remove any coating from the surfaces, be it old tiles, wallpaper or paint residue.


The walls and floor must be leveled and primed, using levels and beacons. When calculating the tiles, remember about a small reserve of 3-5% of the total volume, so that there is some left in case of breakage or trimming. It is best to do the layout in a special program, however, you can do it on a piece of paper. In this case, do not forget to take into account not only the base tile, but also the decorative elements.
When laying tiles, make sure that there are no traces of mortar or glue left on them. To do this, keep a container of warm water and a sponge nearby. By wiping off the mortar immediately, you will save the tiles and time on removing dried glue or cement.

Bathtub tile installation – laying rules
The technology of laying tiles in the bathroom is not as complicated as it seems at first glance. The main thing is not to rush and do everything carefully. It is better to recalculate and double-check several times than to throw away the scraps that did not fit or buy missing tiles.
When buying tiles, check the batch number on the packages. Tiles from different batches may differ slightly in color. Start laying tiles in the bathroom from the far corner, gradually moving towards the doors.
You can lay the tiles in a row from the bottom up, taking breaks so that the bottom row dries and “sets”, then the tiles laid above will not slide down. Or you can lay the tiles in steps, which may be a little faster.
Also lay the floor in the bathroom from the wall to the door. Then you need to leave the tiles to dry for a few days. After that, you can start grouting the seams. This procedure has not only an aesthetic function.
Ceramic tiles are glazed only on top. Their end parts are not protected from moisture, and the grout will fill the smallest gaps and microcracks that can form in the ends of the tiles. This way, you will preserve the attractive appearance of the tiled surface for a long time.


Ok!